How to Install a Stunning Kitchen Backsplash for Under $100
Hello, kitchen warriors! Tired of that boring builder-grade backsplash staring back at you every morning? You can totally transform it into a showstopper with peel-and-stick tiles – no demo, no grout, no mess. This tutorial is for homeowners who want pro results in one weekend (6-8 hours total). We’ll use specific products like Smart Tiles or Auliget peel-and-stick for under $100 total. Difficulty: Easy to intermediate. Let’s get that kitchen envy from your friends!
Why Peel-and-Stick Backsplash Rocks for DIYers
It’s renter-friendly, waterproof, heat-resistant up to 350°F, and removes without damage. Perfect over existing tiles or bare drywall. Costs $4-8/sq ft vs $20+ for real tile. Expect 20-40 sq ft coverage for standard kitchen counters.
Project Overview
- Difficulty: Easy-Intermediate
- Time: 6-8 hours
- Total Cost: $85-95
Materials List (Exact Products & Prices)
- Smart Tiles 10-pack Subway Marble Peel-and-Stick (10 sq ft, Amazon $25.99 x 3 = $78)
- or Auliget Hexagon White Gold (20 sq ft, Walmart $49.97)
- Tile adhesive (Liquid Nails Fuze-It, 10 oz $7)
- Tile caulk (DAP Kwik Seal Kitchen/Bath White, 10 oz $6)
- Tile spacers (1/8-inch, 250-pack $4)
- Silicone caulk smoother $3
Total for 30 sq ft: $92
Tools You’ll Need (Mostly Common Household)
- Utility knife with fresh blades ($5 for 5-pack)
- 5-inch putty knife or 6-inch grout float ($8)
- Wet/dry shop vac or sponge
- Level (24-inch Stanley $12)
- Tape measure
- Stud finder
- Scissors
- Grease pencil or chalk line
- Safety glasses and gloves
Prep Work: The Secret to Perfect Results (2 Hours)
Skimp here, regret later!
- Clean Thoroughly: Degrease counters and walls with TSP substitute (Krud Kutter $6) or 50/50 vinegar/water. Scrub existing tiles, rinse 3x, dry completely (24 hours ideal).
- Measure Your Space: Height from counter to cabinets (usually 18 inches). Length along counters. Calculate sq ft (e.g., 10 ft x 1.5 ft = 15 sq ft per wall). Buy 10% extra for cuts.
- Remove Outlets/Switches: Turn off breaker. Unscrew plates, pull boxes out 1/4 inch for tile fit.
- Protect Counters: Painter’s plastic + tape.
- Dry Fit First Row: Lay tiles on counter without peeling to plan cuts.
Installation: Step-by-Step (4 Hours)
Step 1: Start Your Layout Perfectly
Find center of wall. Snap chalk line at 36 inches from counter (standard height). Use level to ensure straight. Start from center outward for symmetry.
Step 2: Cut Tiles for Edges & Obstacles
- Corner Cuts: Measure, mark on tile backing (not front). Use straightedge + utility knife: score 5-10x deep, snap. File edges.
- Outlet Cuts: Trace outlet on tile backing. Cut X pattern inside, trim to fit. Dry fit before sticking.
- Pro Tip: Cut all edge pieces first. Use paper template for weird spots like sinks.
Step 3: Peel, Stick & Press
- Peel backing 50% only. Align with chalk line, press firmly from center out with putty knife.
- Overlap edges 1/16 inch (tiles have micro-bevel). No spacers needed.
- For trouble spots, add dot of Liquid Nails Fuze-It on back.
- Roll entire surface with grout float or rolling pin for max adhesion.
Step 4: Outlets & Trim
Reinstall plates after 24 hours. Caulk around edges with DAP Kwik Seal: cut tip at 45°, smooth with finger or tool dipped in soapy water.
Common Mistakes & How to Avoid Them
- Bubbles: Lift tile immediately, smooth from center. Use credit card for small ones.
- Not Level: Double-check first row with level every tile.
- Greasy Surface: Always TSP clean – oil from hands kills adhesion.
- Overlapping Wrong: Arrows on backing show direction.
Product Recommendations & Alternatives
| Style | Product | Coverage | Price | Best For |
|---|---|---|---|---|
| Subway Marble | Smart Tiles | 10 sq ft/pack | $26 | Classic kitchens |
| Hexagon | Auliget | 20 sq ft | $50 | Modern |
| Mosaic | Bleucoin Glass | 8 sq ft | $35 | Glam |
Care & Maintenance
- Wipe with damp cloth + mild soap. Avoid abrasives.
- Heat safe to 350°F – fine under microwave.
- Removable: Heat with hairdryer, peel slowly.
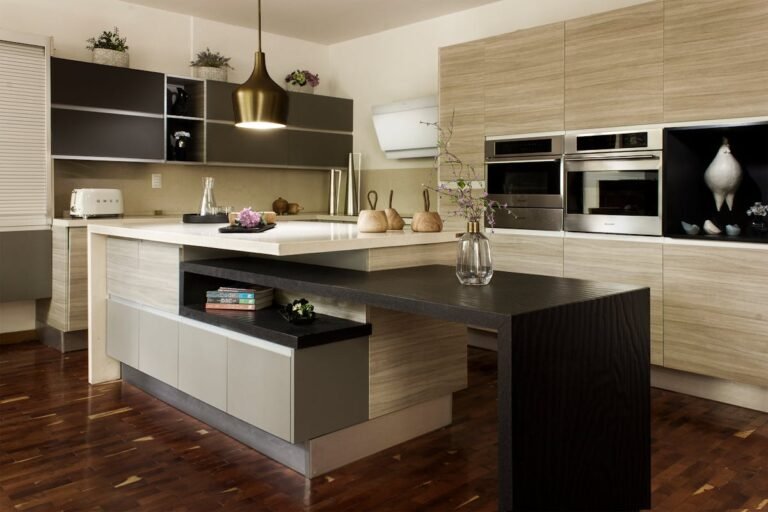
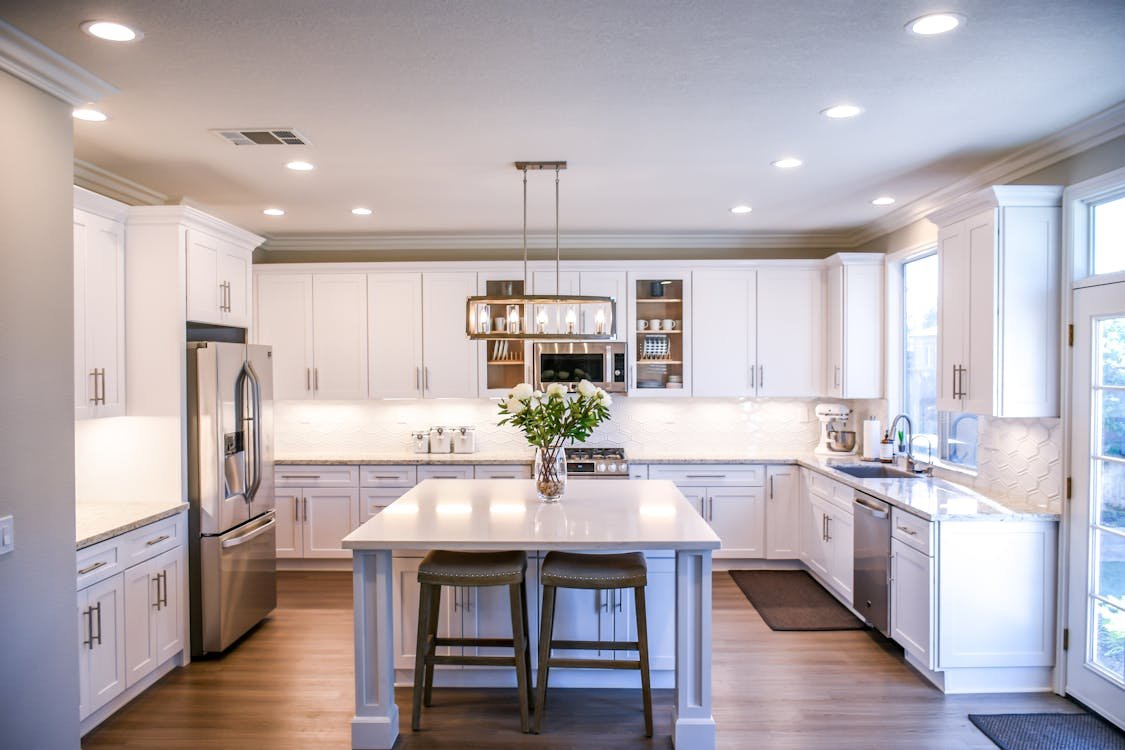
Before/After Inspiration
From dated white ceramic to sparkling marble subway: counters pop, space feels 2x bigger!
You did it! Your kitchen now rivals Pinterest. Share your pics @diycreatorhub.
Get Weekly DIY Ideas
One email every Tuesday. Projects, deals, and inspiration. No spam.