DIY Gallery Wall: The Step-by-Step Guide to a Pinterest-Perfect Display
DIY Gallery Wall: The Step-by-Step Guide to a Pinterest-Perfect Display
Gallery walls are my obsession – personal, artsy, and the perfect way to fill blank walls. But planning one can be intimidating. I am breaking it down step-by-step so you can create that Pinterest-perfect display without the stress. Budget-friendly frames from Target, art prints from free sites, and pro layout tips.
We will cover planning, sourcing, hanging, and styling. Total cost under $75 for a 6×8 ft wall. Let’s make your walls pop!
Step 1: Planning Your Layout
Print template on paper. Use kraft paper $3 roll Dollar Tree. Trace frames. Arrange on floor first.
Frame Picks:
- Target 8×10 gold frames $9.99 x4
- Home Depot black 11×14 $7.98 x3
- Amazon floating shelves $12.99 x2
- Dollar Tree smalls $1.25 x5
Step 2: Curate Your Art
Mix photos, quotes, illustrations. Free prints: Etsy freebies or Canva. Personalize with washi tape borders.
Step 3: The Perfect Layout
- Eye-level center: 57-60 inches from floor.
- 2-3 inches between frames.
- Mix sizes, orientations.
- Asymmetrical is key.
Step 4: Hanging Hacks
Command strips for renters $5 Target. Level tool app on phone. Start center, work out.
Pro Tips
- Theme loosely – colors or travel pics.
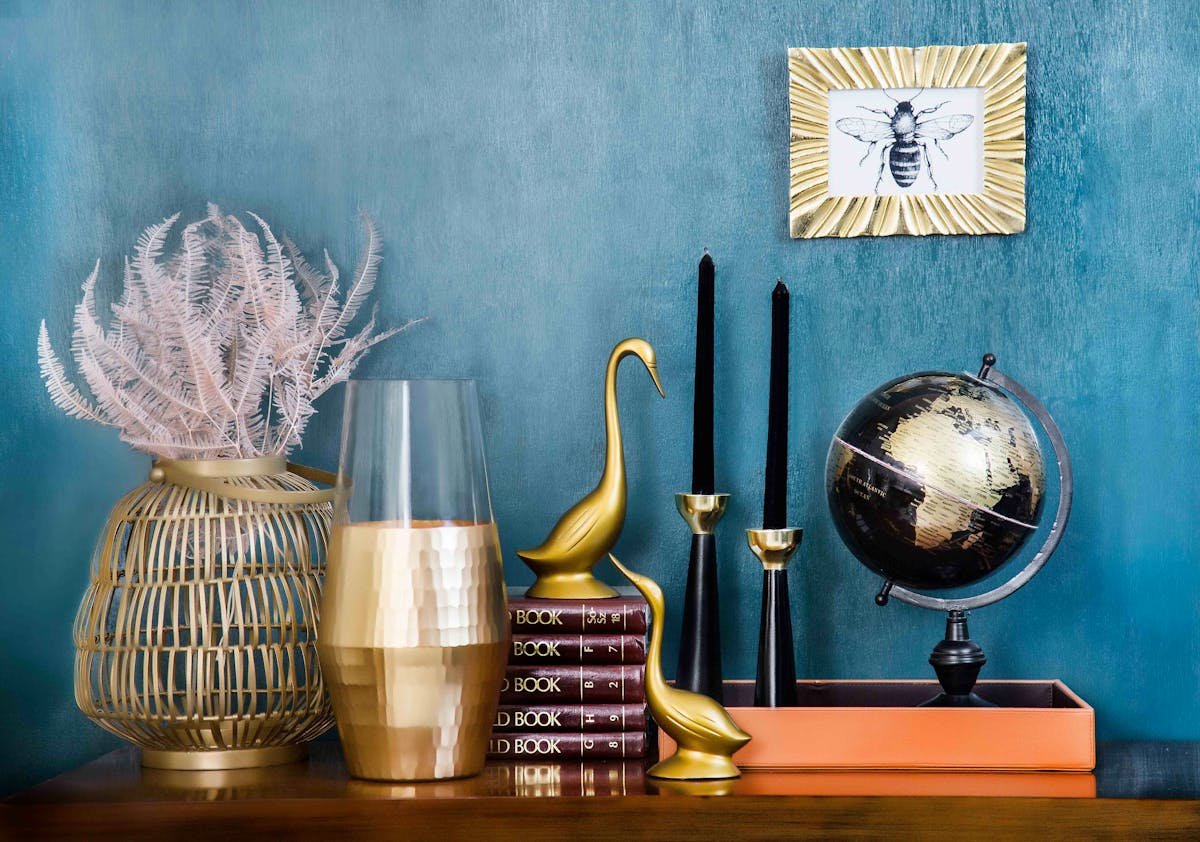
- Layer with 3D: add dried flowers in frames.
- Black matboards unify $2 each Amazon.
- Rotate seasonally.
- Measure twice!
Common Mistakes
- Centered symmetry – boring.
- Too high – looks floating.
- All same size – flat.
- Clashing colors.
- No anchors – start with largest.
Your wall is now a masterpiece! Love seeing your creations.
Get Weekly DIY Ideas
One email every Tuesday. Projects, deals, and inspiration. No spam.