DIY Spring Centerpieces That Look Designer (Under $15 Each)
DIY Spring Centerpieces That Look Designer (Under $15 Each)
Hey friends! Spring is right around the corner, and I am so excited to bring some fresh vibes into our homes. If you are like me, you love those designer centerpieces you see on Instagram – the ones with lush greenery, pretty florals, and that perfect “just picked from the garden” look. But let’s be real, those can cost a small fortune. Today, I am sharing five DIY spring centerpieces that look straight out of a magazine but cost under $15 each. Yes, you read that right – budget-friendly and gorgeous!
These projects are perfect for your dining table, coffee table, or even entryway console. They are family-friendly, quick to make (most under 30 minutes), and use stuff you can grab from Dollar Tree, Target, or Amazon. No fancy floral skills required – promise. Let’s dive in and get crafting!
Centerpiece #1: The Lush Faux Greenery Tray
This one is my absolute favorite because it is so versatile. Start with a wooden tray – I got mine from Dollar Tree for $1.25. Fill it with faux eucalyptus and greenery stems. Amazon has a pack of 10 stems for $9.99 (search “real touch eucalyptus stems”). Add some white candles from Target ($3 for a set of three mini ones) and a few lemons or limes for that pop of color – $2 at any grocery store.
Step-by-Step:
- Line the tray with kraft paper or burlap ribbon ($1 roll at Dollar Tree).
- Trim greenery to fit, layering taller pieces in the back.
- Tuck in candles and fruit. Pro move: mist with water in a spray bottle for a dewy look.
Total cost: $12.24. Looks like $100!
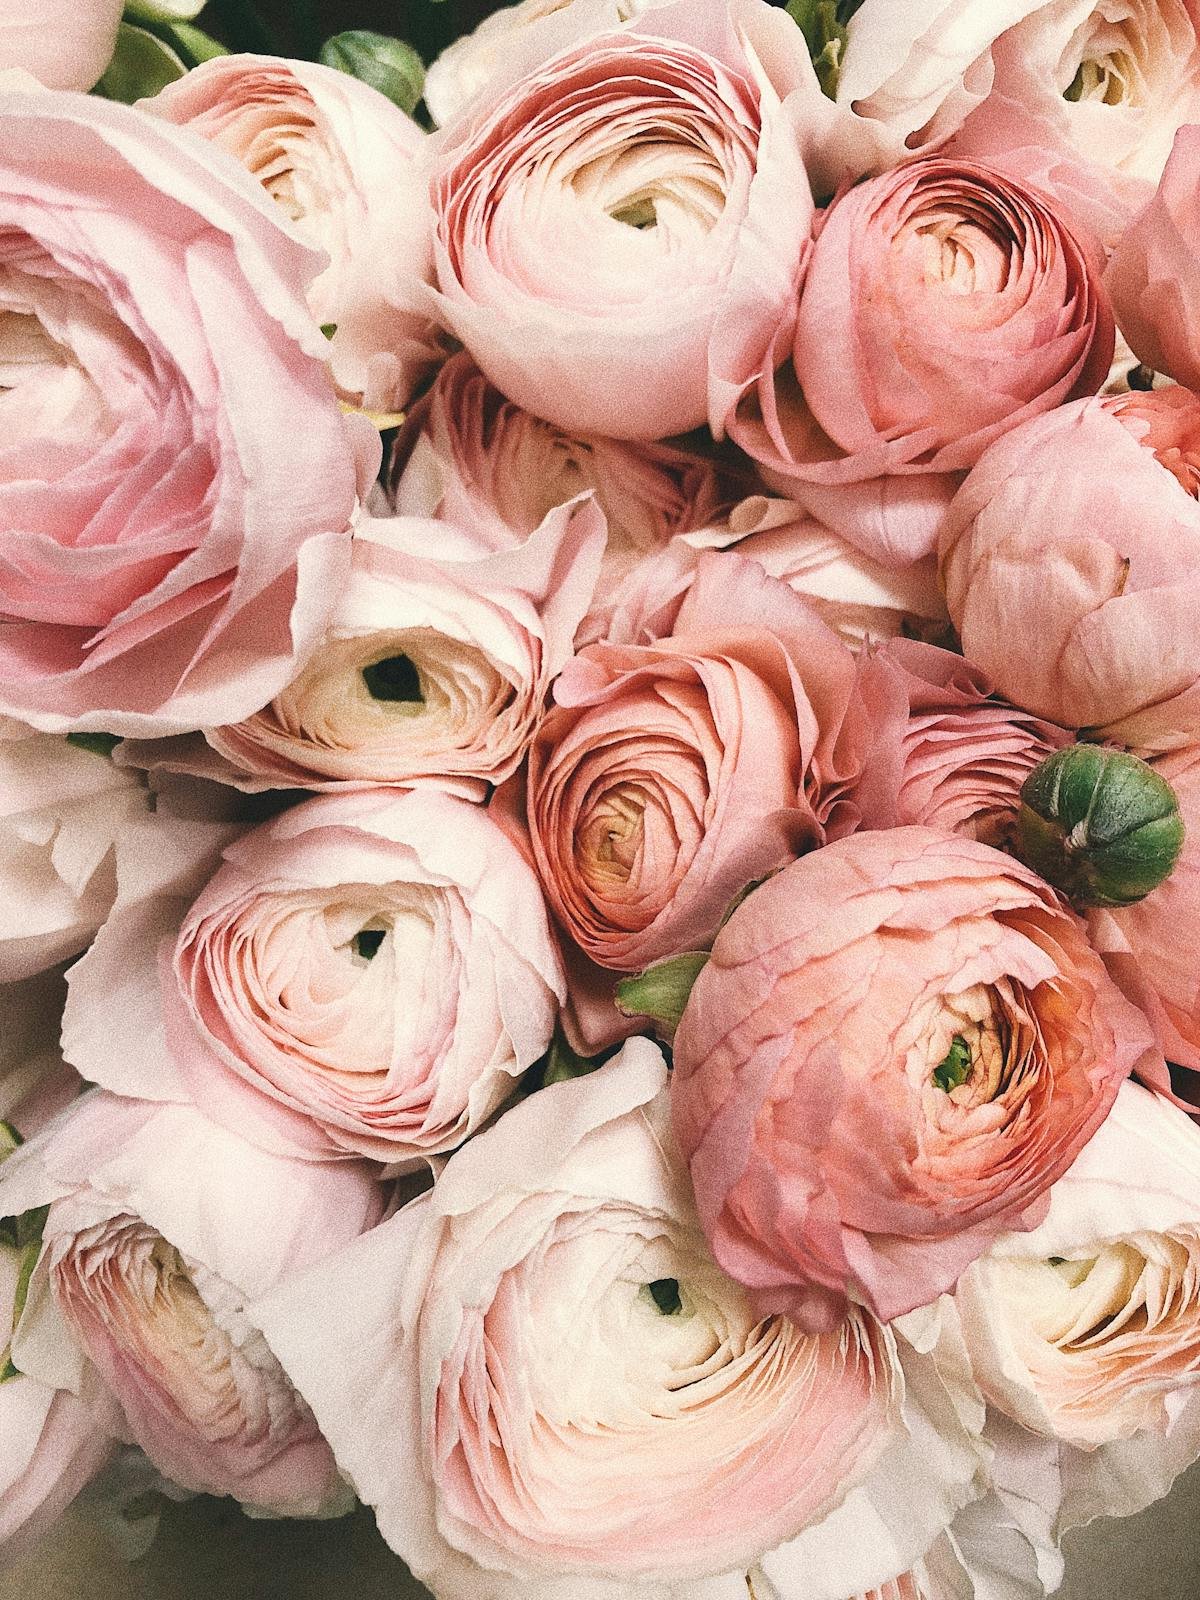
Centerpiece #2: Vintage Jar Floral Arrangement
Grab three mason jars from Home Depot – the quart size is $1.98 each. Fill with water and snip faux tulips and peonies from Dollar Tree bouquets ($1.25 each). I mixed pink and white for that soft spring palette. Add some twine and a thrift store ribbon for $0.50.
Steps:
- Hot glue twine around jar necks.
- Arrange flowers: odd numbers always look best (three stems per jar).
- Place on a round woven placemat from Target ($4).
Cost: $14.89. Tie in some baby’s breath from Amazon ($5 pack) if you want extra fluff.
Centerpiece #3: Minimalist Succulent Wood Box
Wood boxes are everywhere right now. Target has small ones for $5. Fill with faux succulents – Dollar Tree has cute ones for $1.25 per pot. Add pea gravel ($3 bag at Home Depot) and a few air plants ($2 each on Amazon).
Assembly:
- Layer gravel at bottom.
- Arrange succulents tallest to shortest.
- Spray paint box white if needed (Krylon spray paint $4.97 at Home Depot).
Under $13. Perfect for modern homes.
Centerpiece #4: Boho Macrame Vase Holder
DIY the holder itself! Cotton cord from Home Depot ($2.98 skein). Wrap around a glass vase from Dollar Tree ($1.25). Hang or set with dried pampas grass ($6 Amazon pack) and fresh pussy willow branches ($4 grocery).
Macrame Quickie:
- Cut 8 strands 2 yards long.
- Braid loosely around vase.
- Fill with florals.
Cost: $11.23. So trendy!
Centerpiece #5: Pressed Flower Candle Ring
Pillar candle from Target ($5). Pressed flowers kit or real ones laminated ($3 Amazon). Arrange around base on a cake stand ($7 Target).
Steps:
- Print or press flowers.
- Glue to cardstock ring.
- Center candle on top.
$10 total. Elegant and unique.
Pro Tips for Designer-Looking Centerpieces
- Layer heights: Always have tall, medium, low elements for depth.
- Odd numbers: Three flowers, five stems – it is more natural.
- Texture mix: Glossy leaves with matte pots.
- Scale to table: Centerpiece should be 2/3 table width max.
- Use battery tea lights for safety around kids.
Common Mistakes to Avoid
- Overstuffing – less is more for luxury vibe.
- Matching everything perfectly – mix metallics and finishes.
- Forgetting negative space – let pieces breathe.
- Cheap-looking plastics – dust and fluff faux plants.
- Not securing – use floral foam ($2 Home Depot) for stability.
These centerpieces will have your friends asking where you shopped. They are easy to swap for seasons too – just rotate florals. Tag me in your recreations! What’s your fave?
Get Weekly DIY Ideas
One email every Tuesday. Projects, deals, and inspiration. No spam.